¶ Document attributes in Limacta
Once you create or import a document in Limacta, you see the file list in the main Home section.
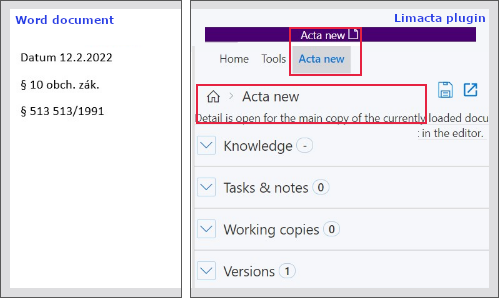
If you want to continue to work with the document, you need to continue to file option, there you can work with the working copy, tasks, versions and generating an appendix. You can also add tags into the document.
If you change a document, you can save this change under the other user name.
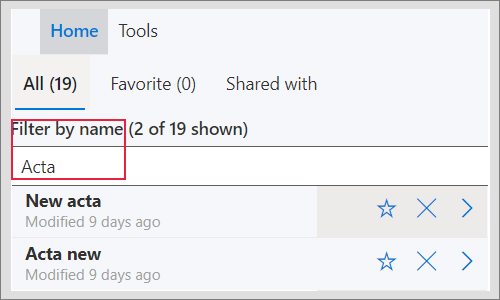
¶ Open the file in Limacta
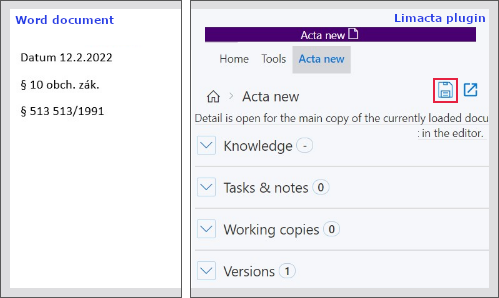
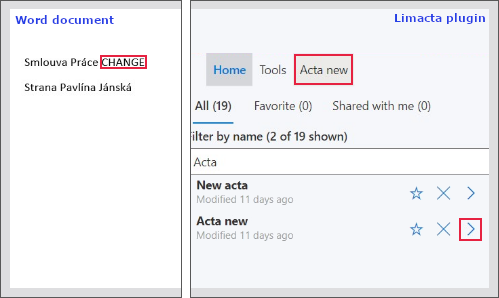
- After login, go to Home section and filter the document name (optional,you can look for a file with scrolling the list as well)
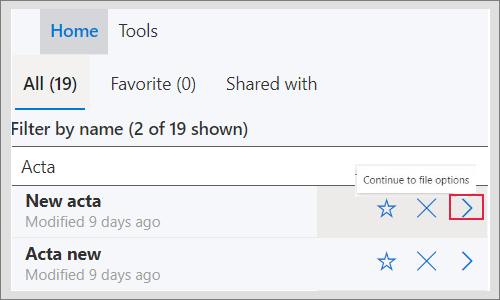
- Open the certain the document you want to work with, use the >
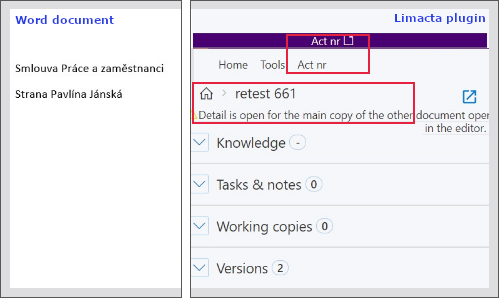
- If you have open the same document in the plugin as in the Word editor - you will be able to save changes in the version or working copy after
- After editing the document in editor, you are able to save the changes
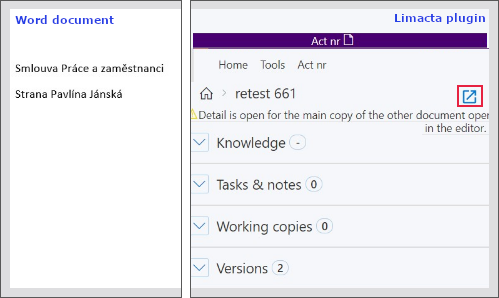
- If you do not have open the same document in the plugin as in the Word editor - you will not be able to save changes in the version or working copy after
- You need to upload the correct/same document into the editor too
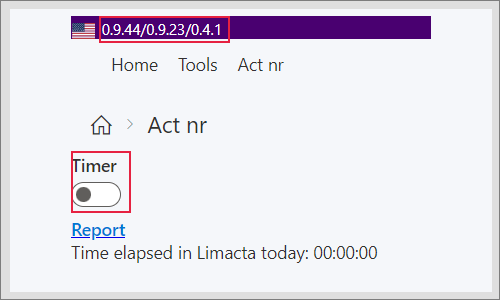
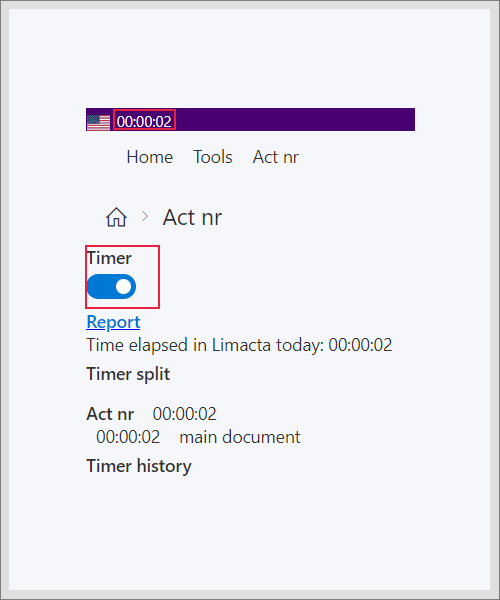
- If you want to track time of work with the document - click on the version information - you can switch on the Timer with the toodle
¶ Notes and Attachments
In this section you can create a note with an attachment that can be linked with the current document or a working copy created in this section and linked to the actual file.
-
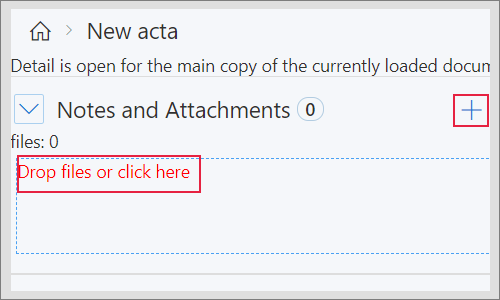
For creating the new note, open the document in the editor from the Home, go to its detail
-
In the Notes and Attachments section add the attachment to the box or click on +
- Check the added attachment, fill in the details (Name and description of the note)

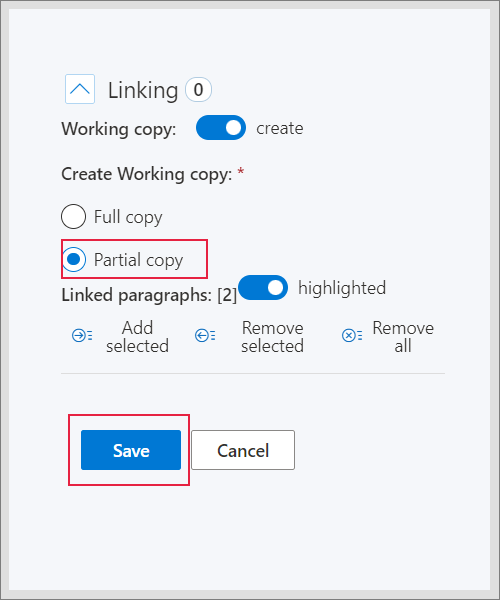
- Decide if you keep the document linking (default)
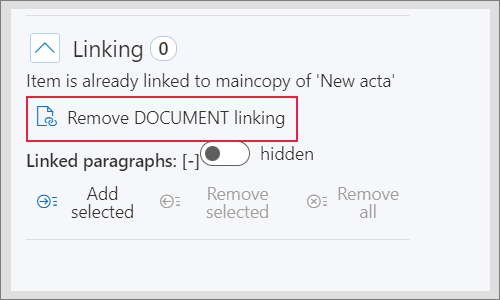
- Or create a working copy - full or partial, once you click on Remove doc linking and click on toodle to create working copy and after click on Save
- Once you go back to the document detail, you see the list of notes in the Notes and Attachment section

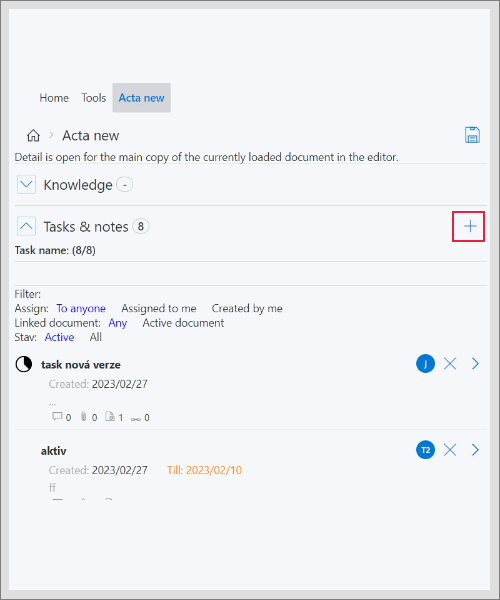
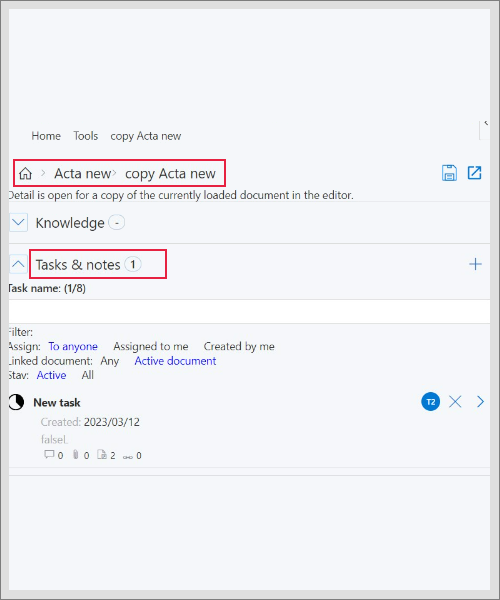
¶ Tasks and Notes
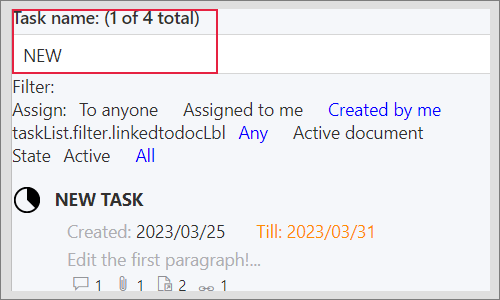
- In this section you can see the list of all tasks and notes connected with the open document detail (either creator or assigned person)
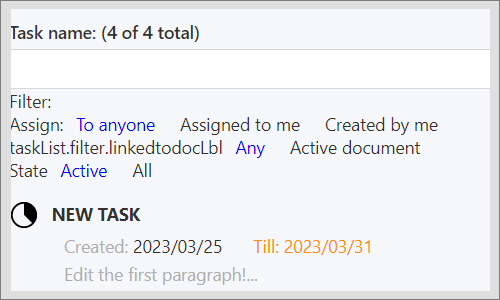
- You can filter them:
- according to the task name
- the assigned person/creator
- linked document
- state
- After you can open the task/note in the side window and edit it
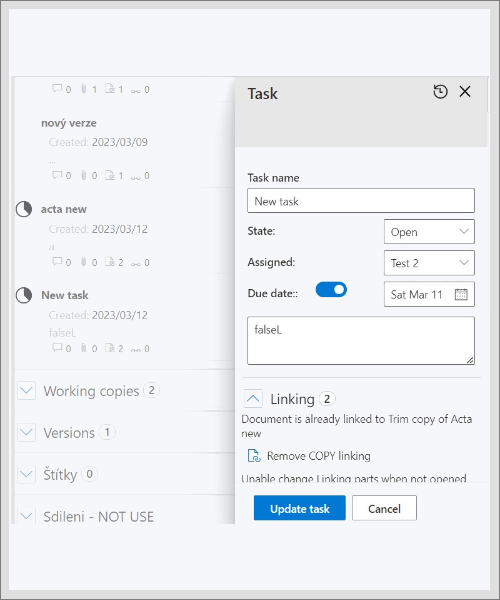
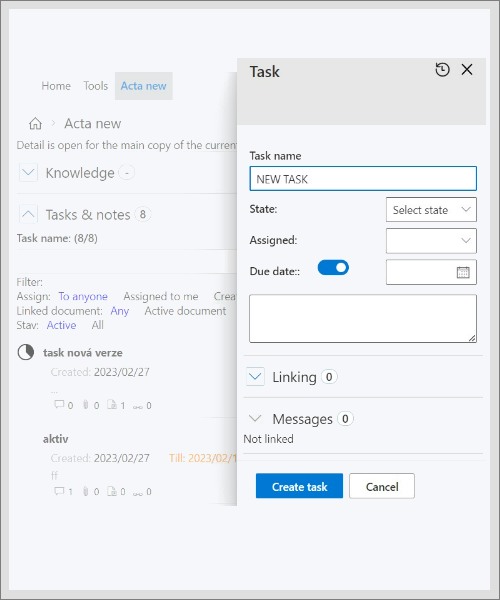
- With the + , you can add a new task
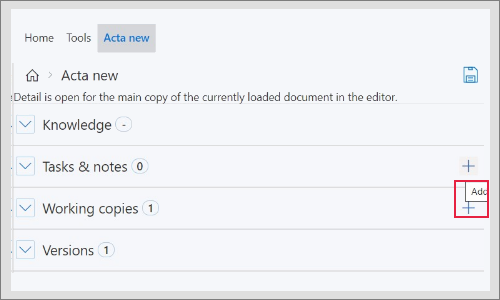
¶ Working copies
- creating of a new copy
- Once you want to create a working copy of the open document in editor, go to +
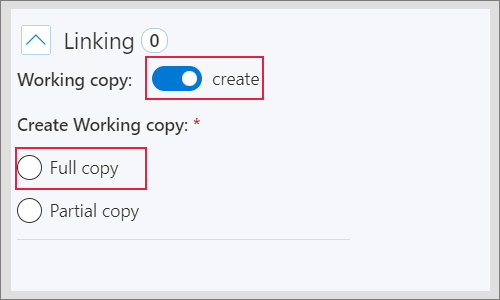
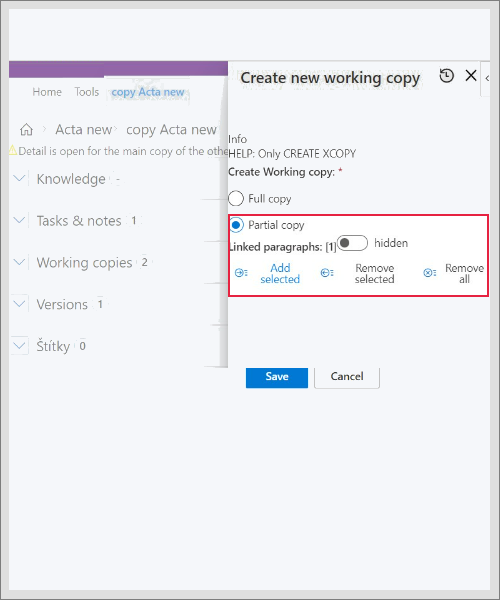
- The side window will appear - you can choose what type of copy you want to create:
Full - full text of the document
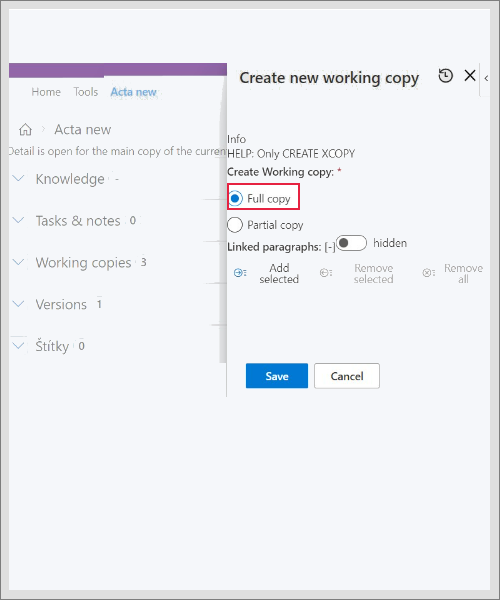
Partial copy - for chosen paragraghs - press Add selected to create a copy with them, you cannot create a partial working copy without choosing a paragraph
- if you want to delete one or all selected paragraph, click on Remove selected/all
- Once you fill all data needed, choose Save
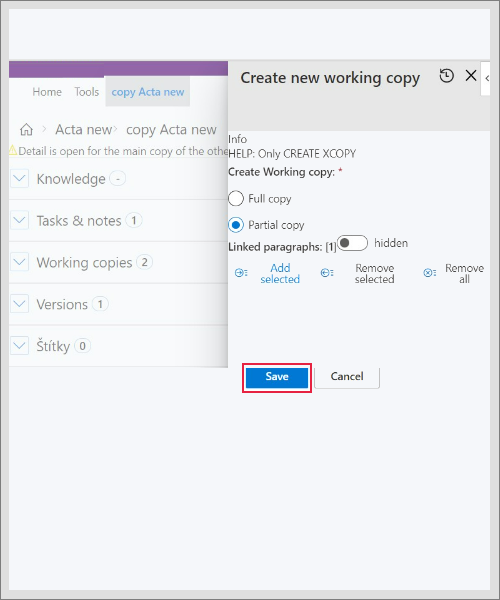
- The created working copy you see in the list of copies related to the certain document
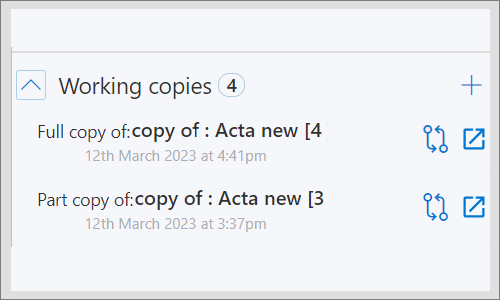
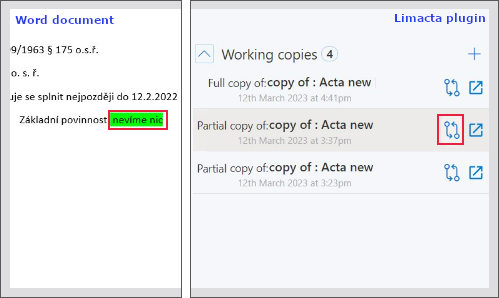
- opening of a created working copy
- Once you create a working copy, you see it the list of copies related to the certain document
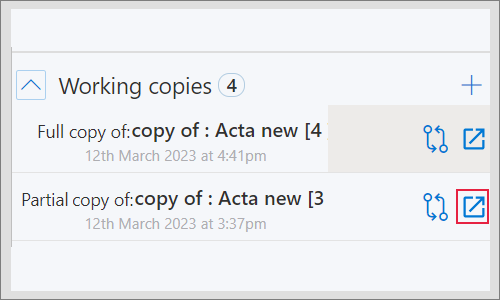
- Choose a copy you want to work with in Word editor and click on upload symbol - you are in the copy detail with the tasks/notes related to the copy
- If you want to see changes of the copy versus the document, click on the compare symbol - you can reject or accept the changes
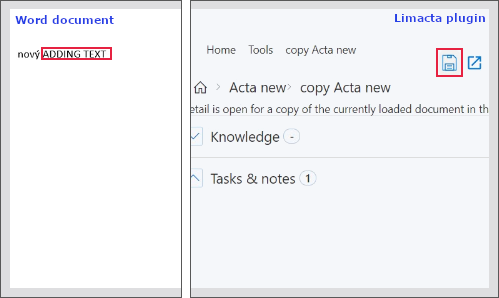
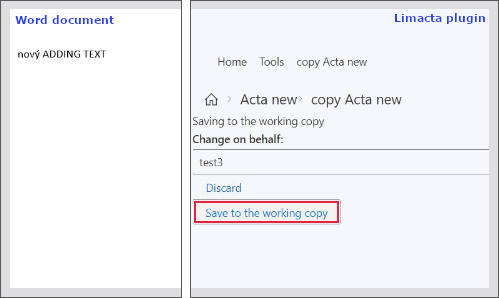
- Once you edit the copy, click to highlighted symbol and you can save the changes
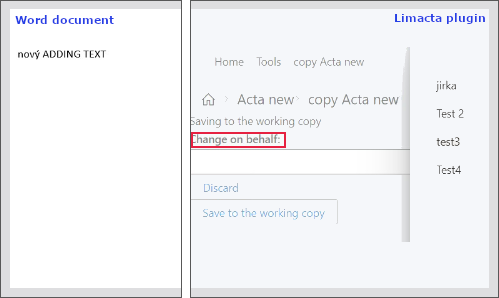
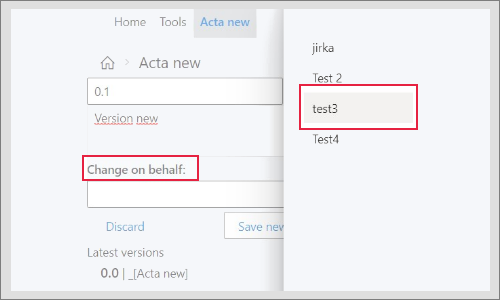
Optional: you can also save the document change under the other user name - change on behalf, choose the other user from the list
- this change is to be seen in History
¶ Merging of the working copies into the main document
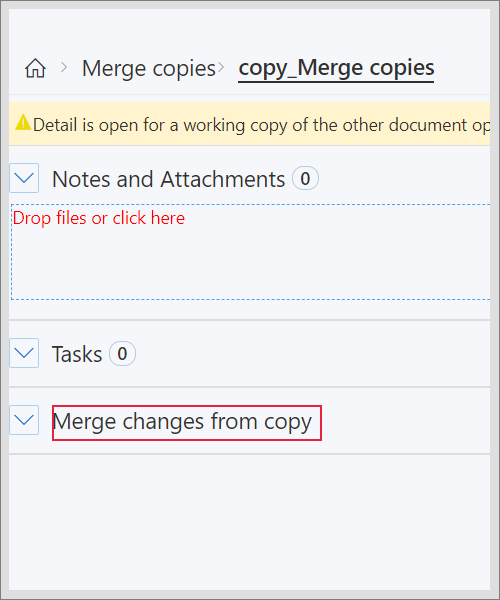
- You can merge the changes made in the working copy into the main document - after creating and working with the copy, go to its detail, click on Merge changes
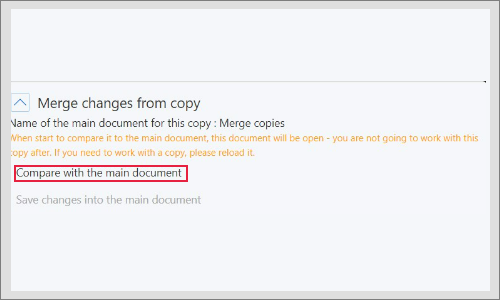
- After opening the line, click on Compare changes to see what changes were made
- Red colour presents deleted items, green one added - with the buttons Accept and Reject you can decide what changes you will involve into the main document
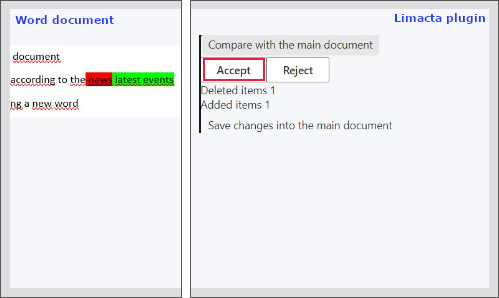
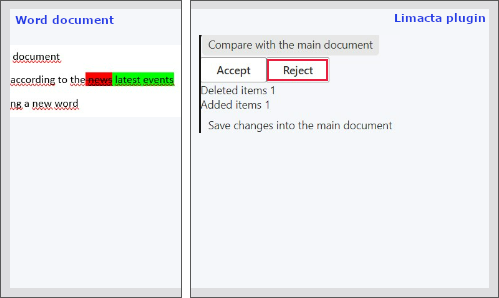
- Once you have the acceptation/rejection done (put the cursor into the highlighted word and click on the corresponding button), click to Save changes into the main document
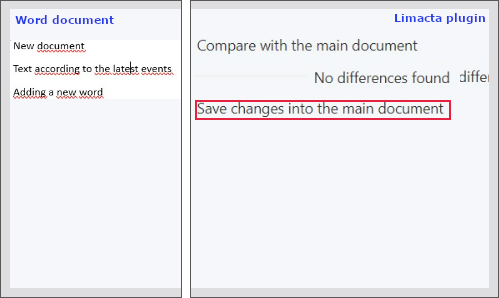
- The changes will be saved as a new version of the main file
- To see if the merging was successful, open the main document - you see the last version created
¶ Versions in general
After editing the document, you can create a new version of it after saving.
¶ Creating of the new version
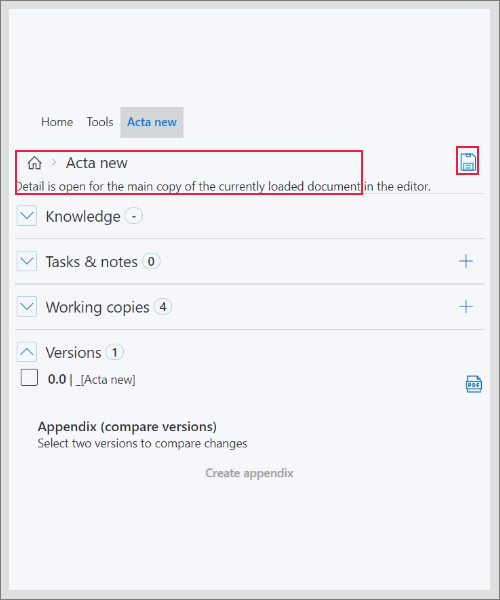
- Open the document in the editor and login into Limacta plugin, make a change in the actual document, go to Home, go the current open file options
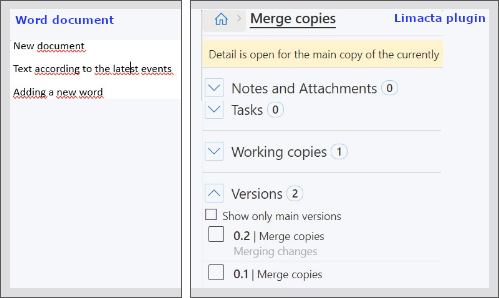
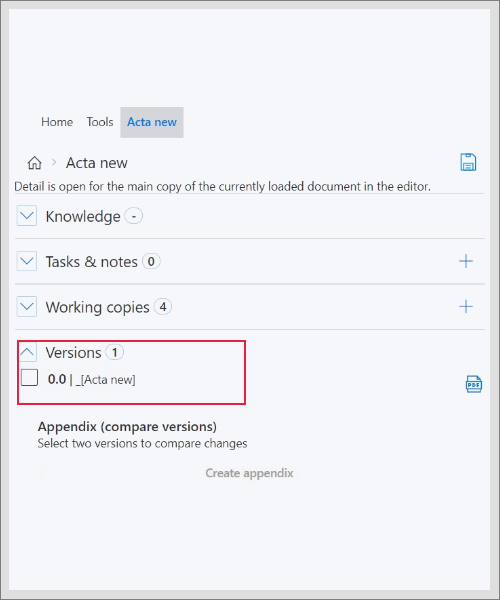
- Go to document detail, scroll to Versions, open this folder
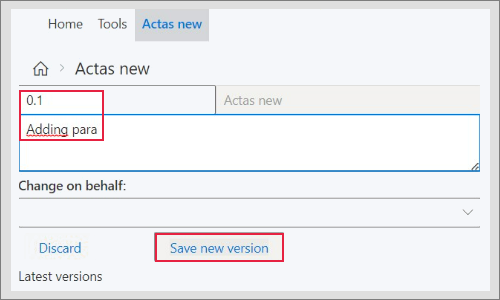
- When you want to save a new version of the open document, click on the saving symbol
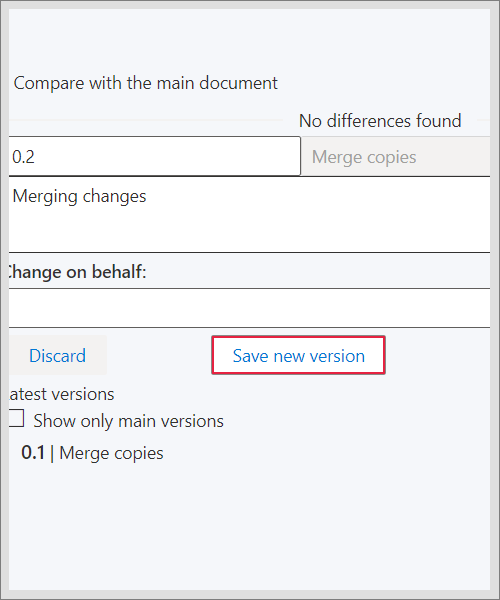
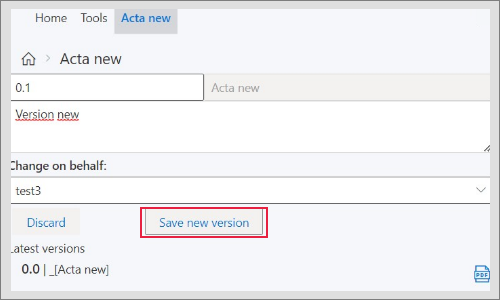
- Write a name of the new version
Optional: you can also save the document change under the other user name - change on behalf, choose the other user from the list
- this change is to be seen in History
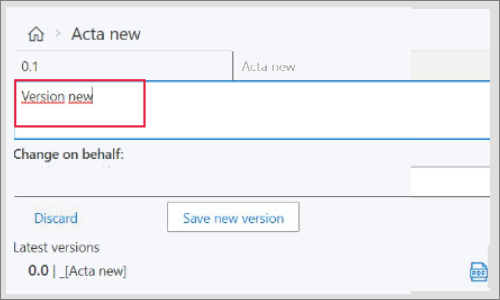
- After filling the data, click on Save new version
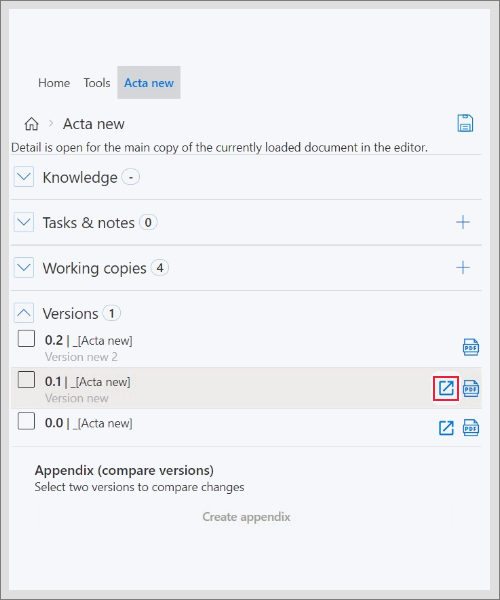
- The version with the lower number is the previous form of the document before the change was made, with the highlighted symbol you can upload the certain version into the Word editor
¶ Export PDF of the version
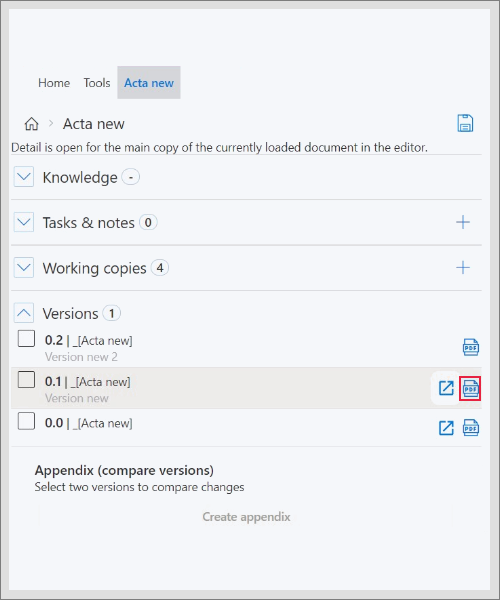
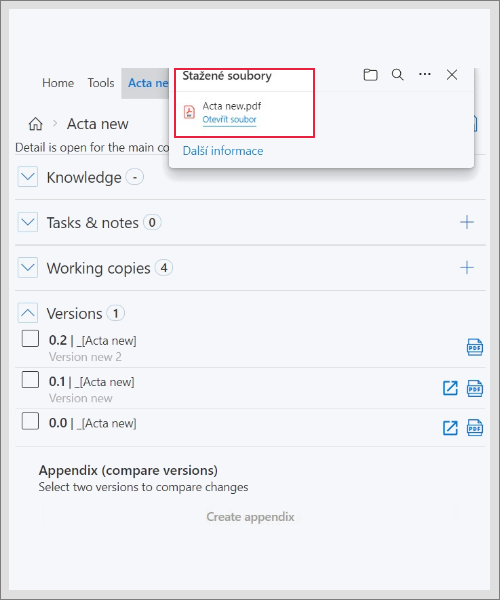
- If you want to save a PDF format of the each version, choose the version you want to export, click on this symbol
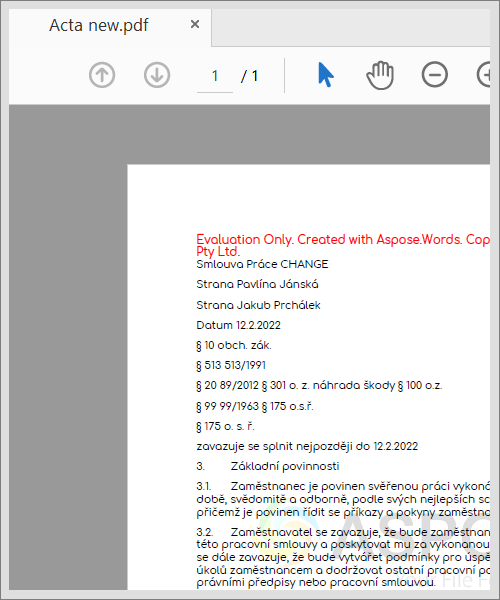
- The PDF file is saved into your computer to the DOWNLOADS, where you can after open the file
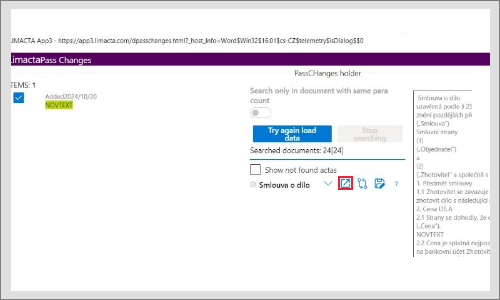
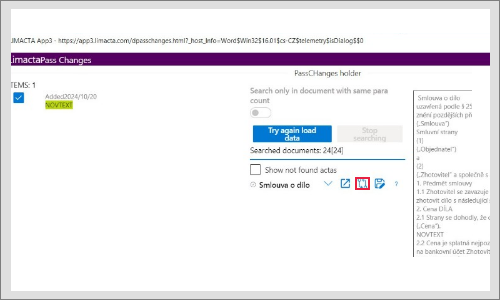
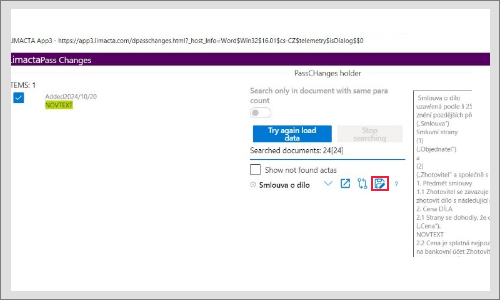
¶ Merching of changes into another document
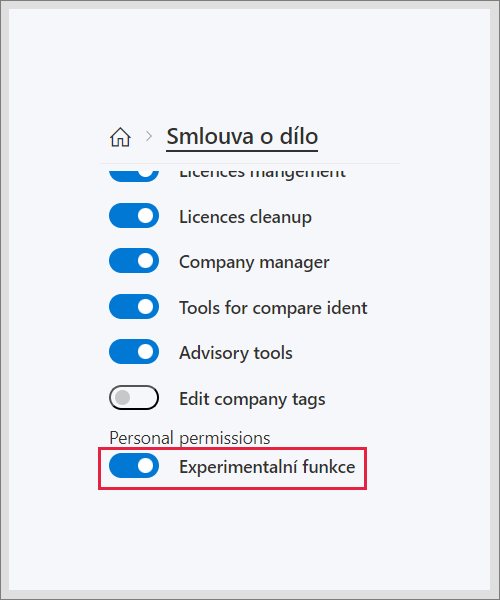
- This feature is available only with experimental function turned on, this is allowed to the admin user accounts.
- Go to document detail - Versions - choose the versions you want to check and mark them. After click on Check changes.
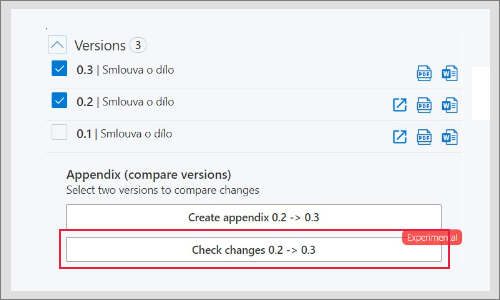
- After you can choose the document you want to implement the changes in with Try to load.
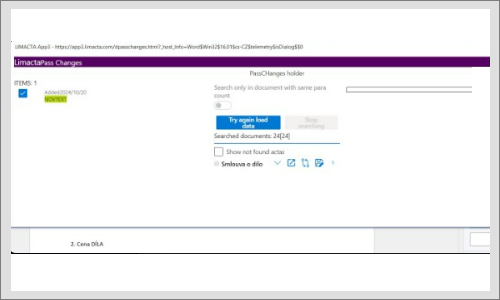
- You can display the document on the right side, do a comparison or save the changes into it.
¶ Appendix from the versions
To create an appendix, you can either use version merge or add to the document Data items and after use the version merge.
Data items function creates specific anchors in the contract documents - for a contract name, sides names and date.
According to these specifications, the contract appendix with the naming could be generated.
In the appendix, all changes in the contract are displayed through several versions of the document.
¶ General appendix from the versions
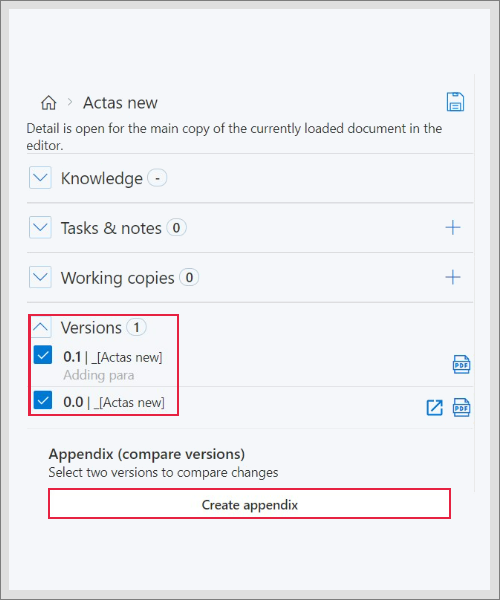
- For creating an general appendix related to the certain document in Limacta, you need to choose the two versions of the file
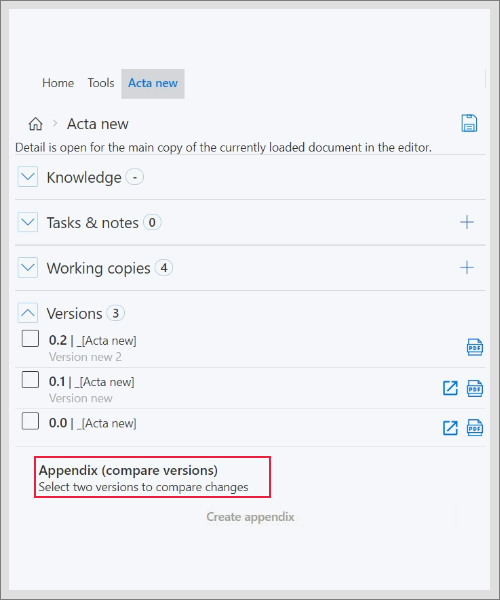
- Mark the versions you want to include into the appendix and click to Create appendix
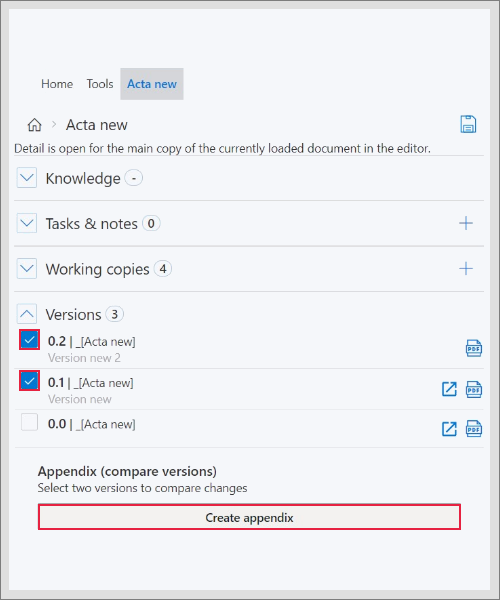
- You display the appendix in the Word editor without filled contract name, sides and date
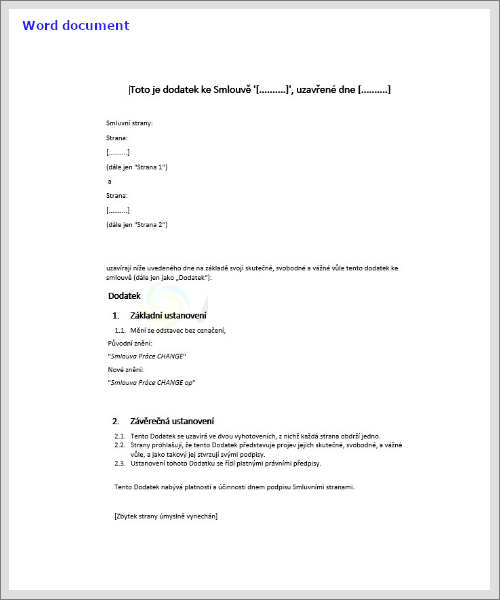
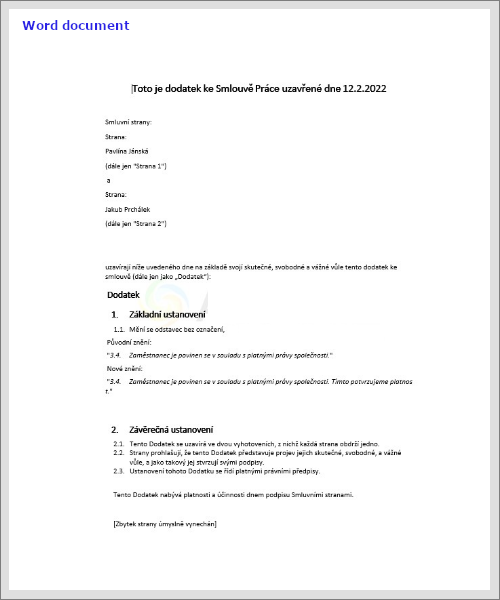
¶ Appendix with Data items
Once you insert into the file the Data items, in appendix display, there they are taken always from the previous elder version (names of the contract, sides and contract date).
- For creating an appendix with Data items related to the certain document in Limacta, you need to choose the two versions of the file with Data items inserted
- Mark the versions you want to include into the appendix and click to Create appendix
- You display the appendix in the Word editor with filled contract name, sides and date
¶ How to display document changes in the appendix
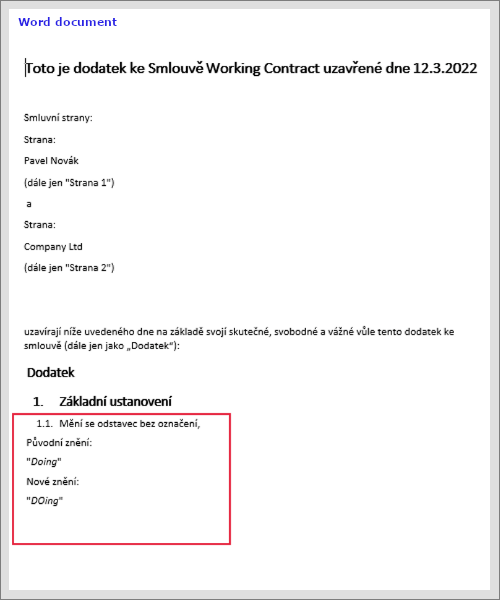
Once appendix is displayed, the text in the body is changing according to the used versions and their edits
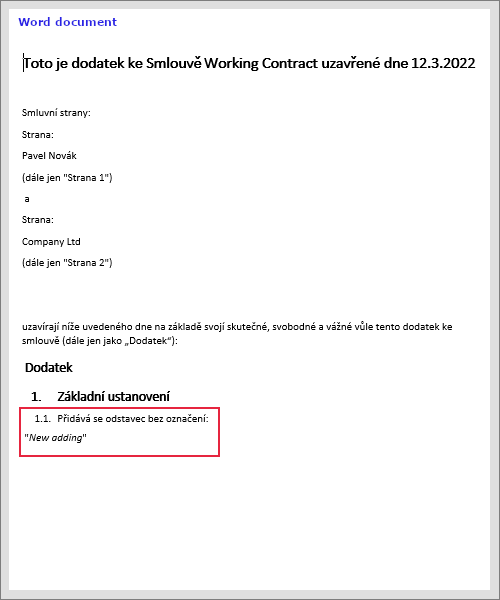
- When you add a paragraph in to the document, after save the document as a new version of it

- Go to document details > Versions and choose the versions you want to compare, after click on Create appendix
- The appendix is displayed and in the body you see the added paragraph as a change
Important: the same process (editing the document, saving a new version of it and marking the version choice for creating of the appendix) is needed to be done every time we change a document
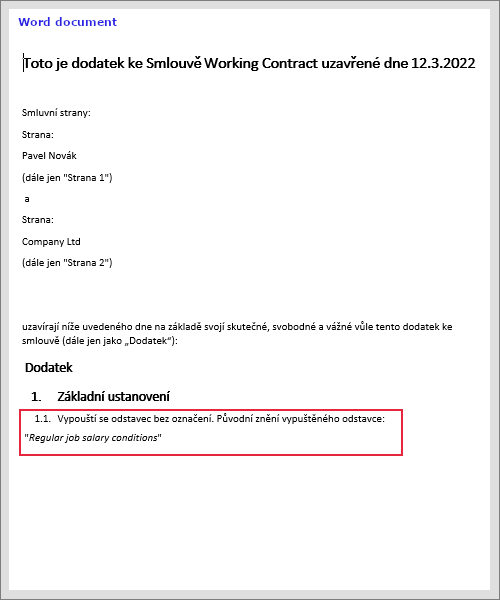
- appendix display after the editing in a paragraph
- appendix display after the deleting a paragraph
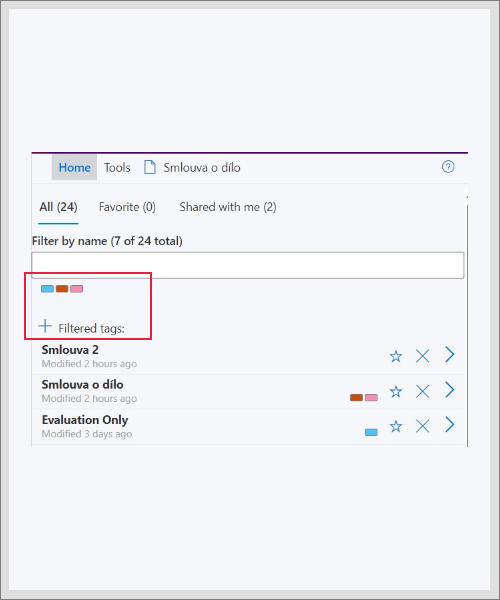
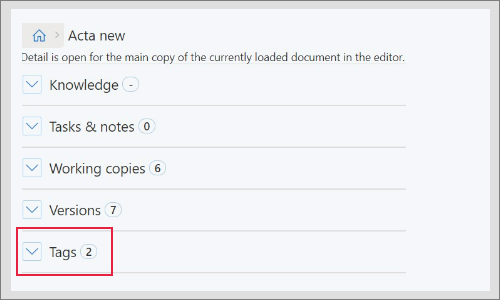
¶ Tags
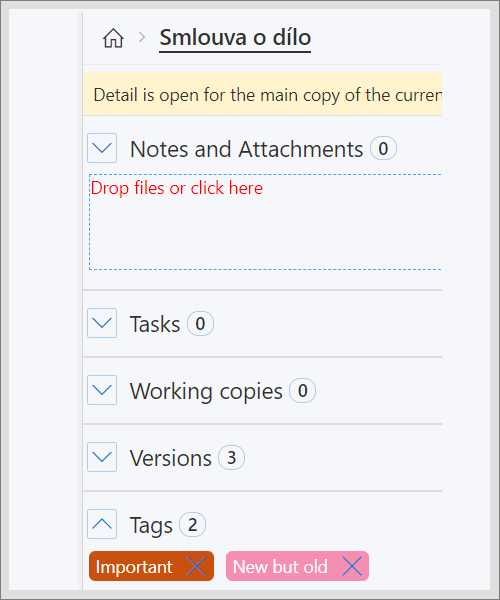
- You can put tag to each document in Limacta plugin to mark the files, go to document detail, to Tags
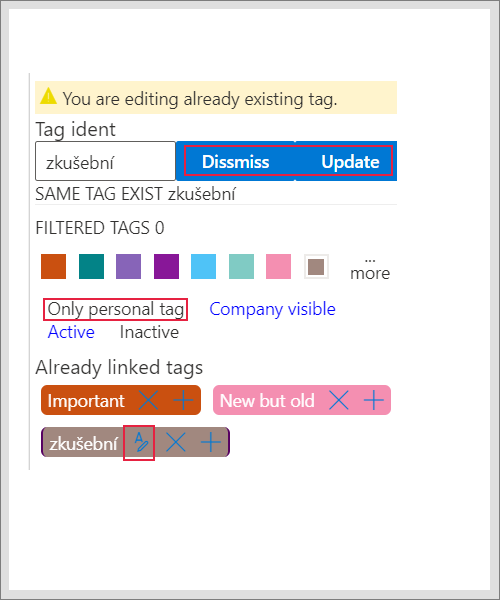
- To add a tag to the open document, click on + , you open the side window
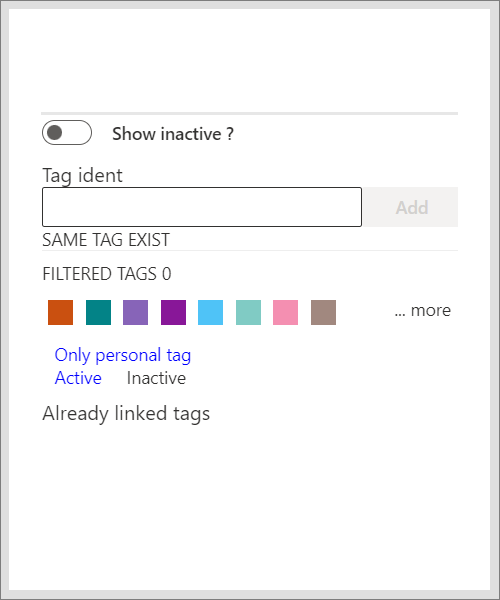
- You see the existing tags according the filter - you can display active/inactive ones
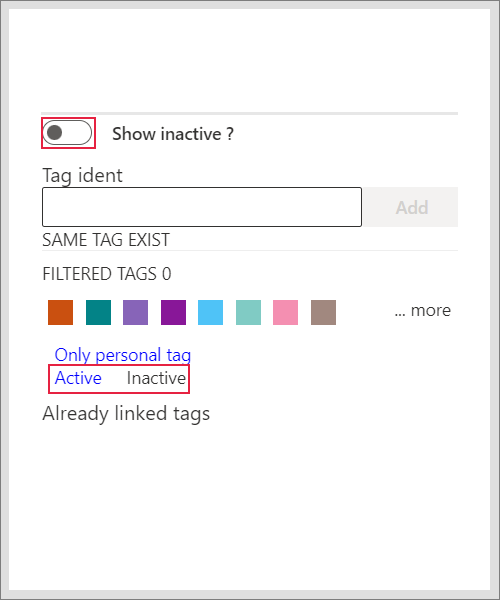
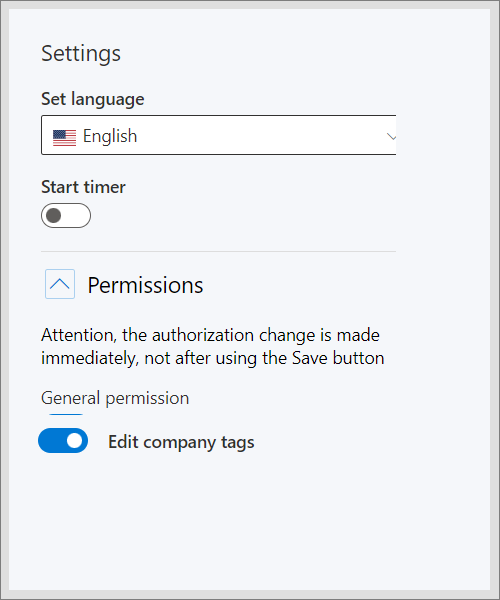
- If you have an admin permission, you an display or create a personal or company tag
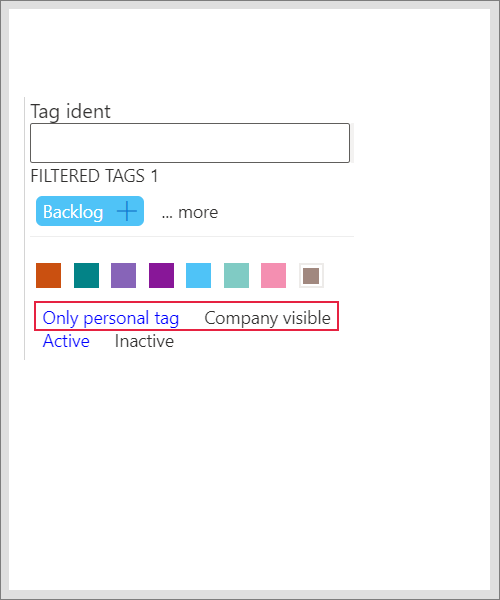
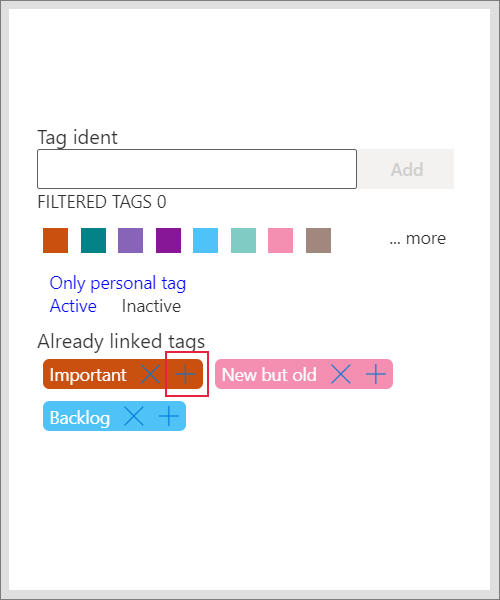
- After choose already existing tag to be linked to the document
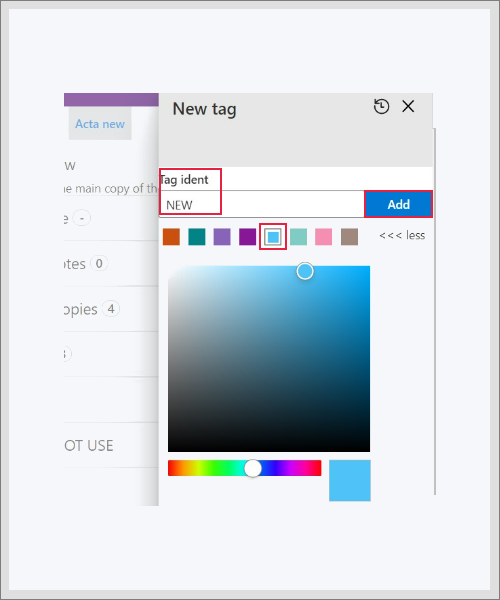
- Or write a new one - name in the box, choose a colour and click on Add
- If you have permission for company tags, you can edit the tag to personal
- After adding a tag, you see the linked tags in the document details
- You can filter the documents according to chosen tag